Pool Volume Calculator: How Many Gallons of Water Does Your Pool Hold?
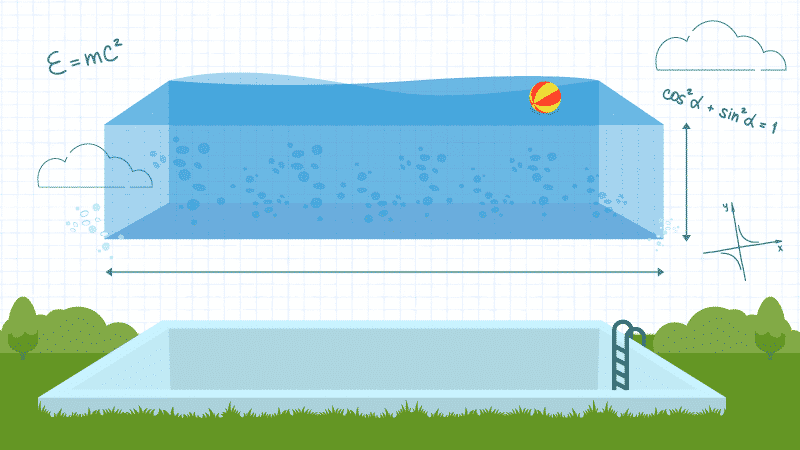
Need to know exactly how many gallons your pool holds? Precision matters. Whether you are dialing in your water chemistry or sizing a new pump,
Need to know exactly how many gallons your pool holds? Precision matters. Whether you are dialing in your water chemistry or sizing a new pump,
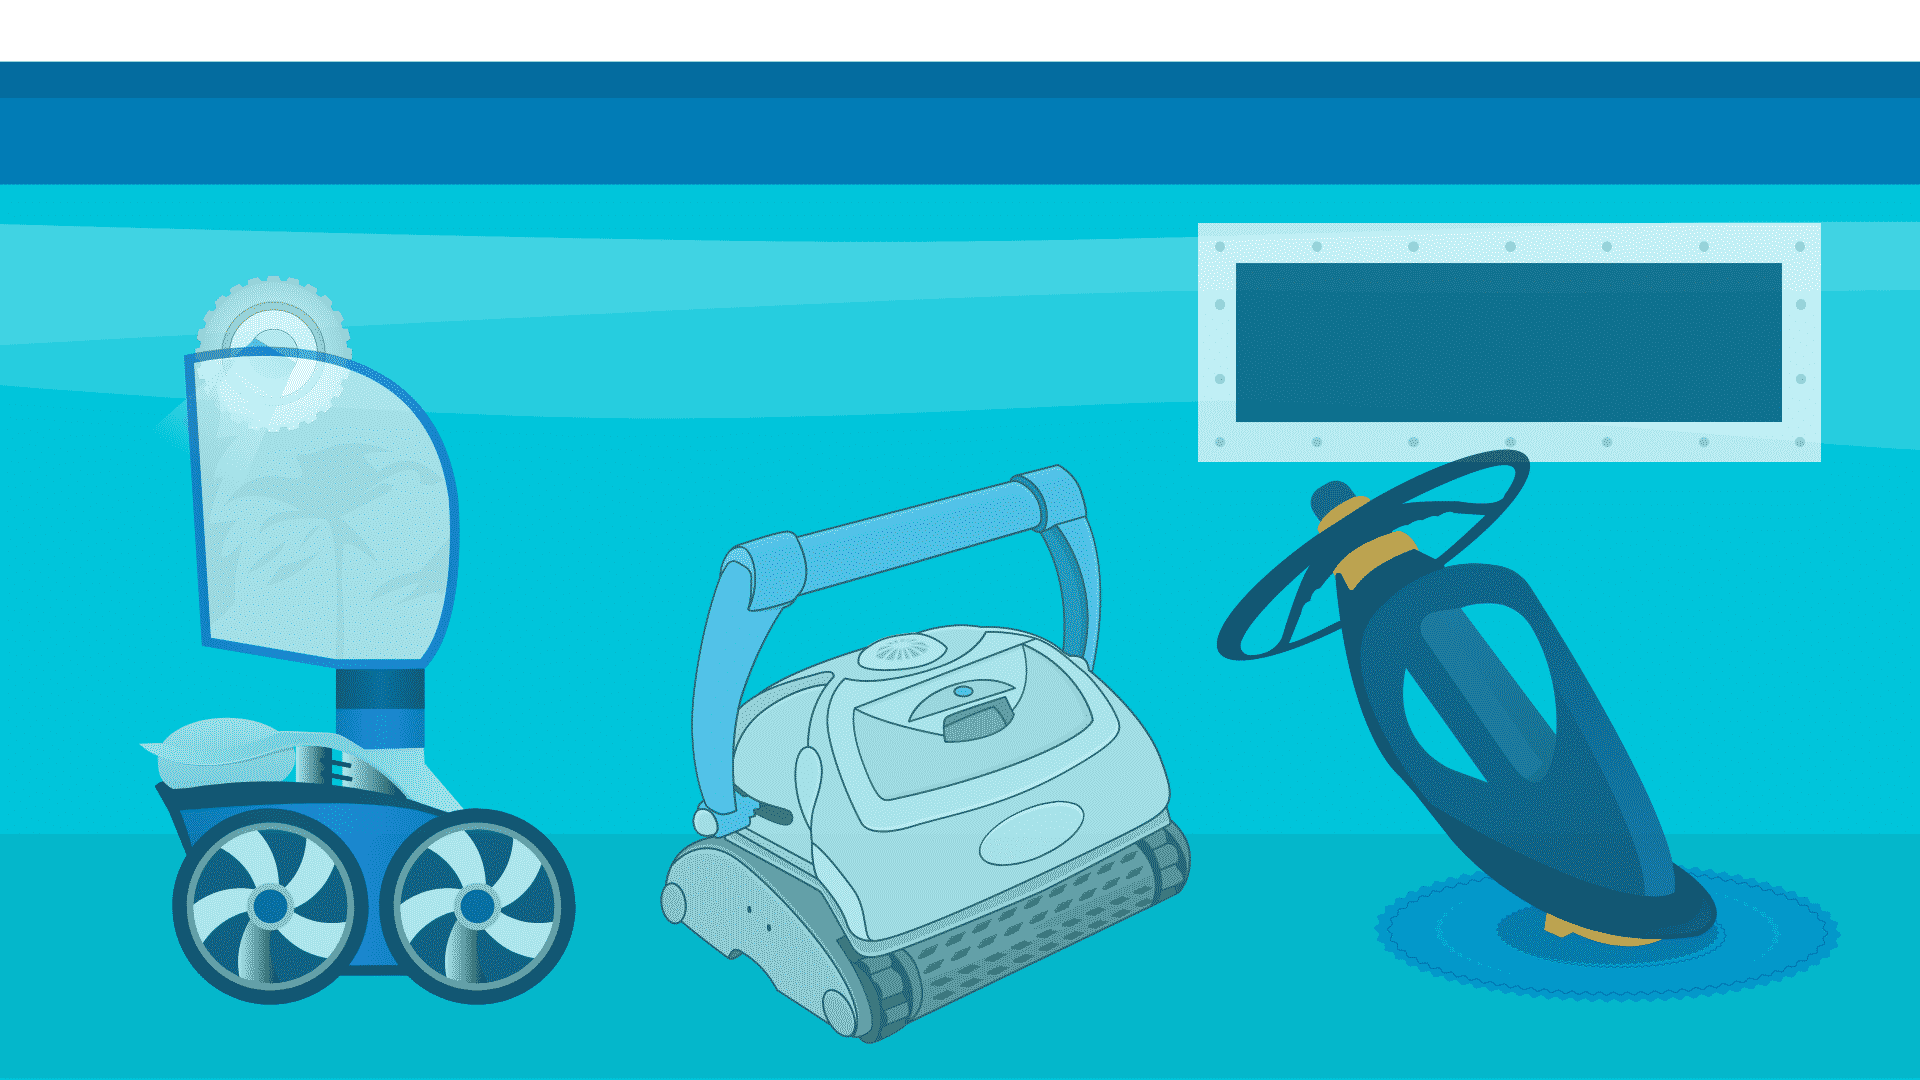
We reviewed a bunch of automatic pool cleaners, and here are our top picks for inground pools. NOTE: The following inground pool cleaners are Amazon
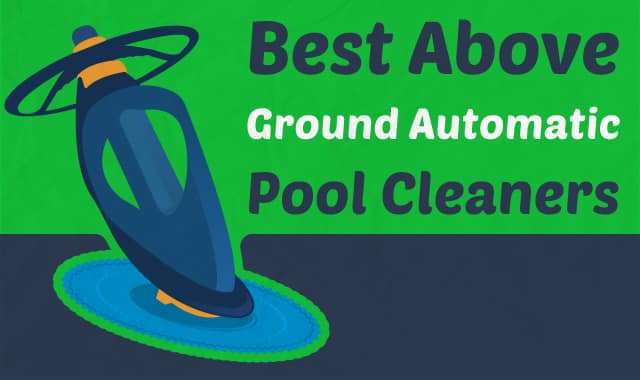
After testing every single above-ground pool vacuum on the market in a variety of pools, both big and small, here are our top picks. NOTE:
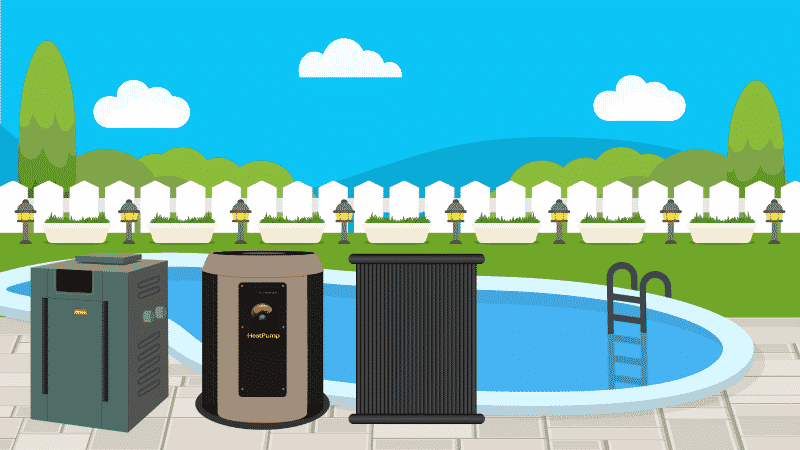
When it comes to buying an inground pool heater, there are a few factors you must consider: the size of your pool, the type of

Your levels, like pH and chlorine, should all be in range before anyone gets in the water. But how long does that usually take? For
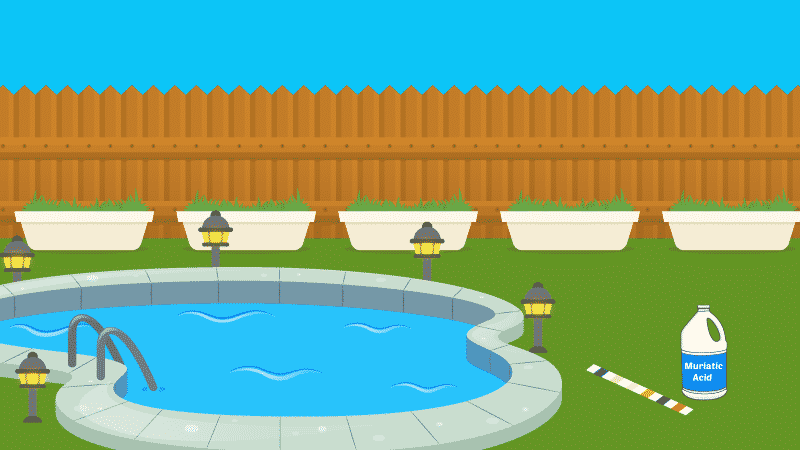
Muriatic acid is a cheap way to lower your pool’s alkalinity and pH. And you can also use it to clean your pool filters (cartridge
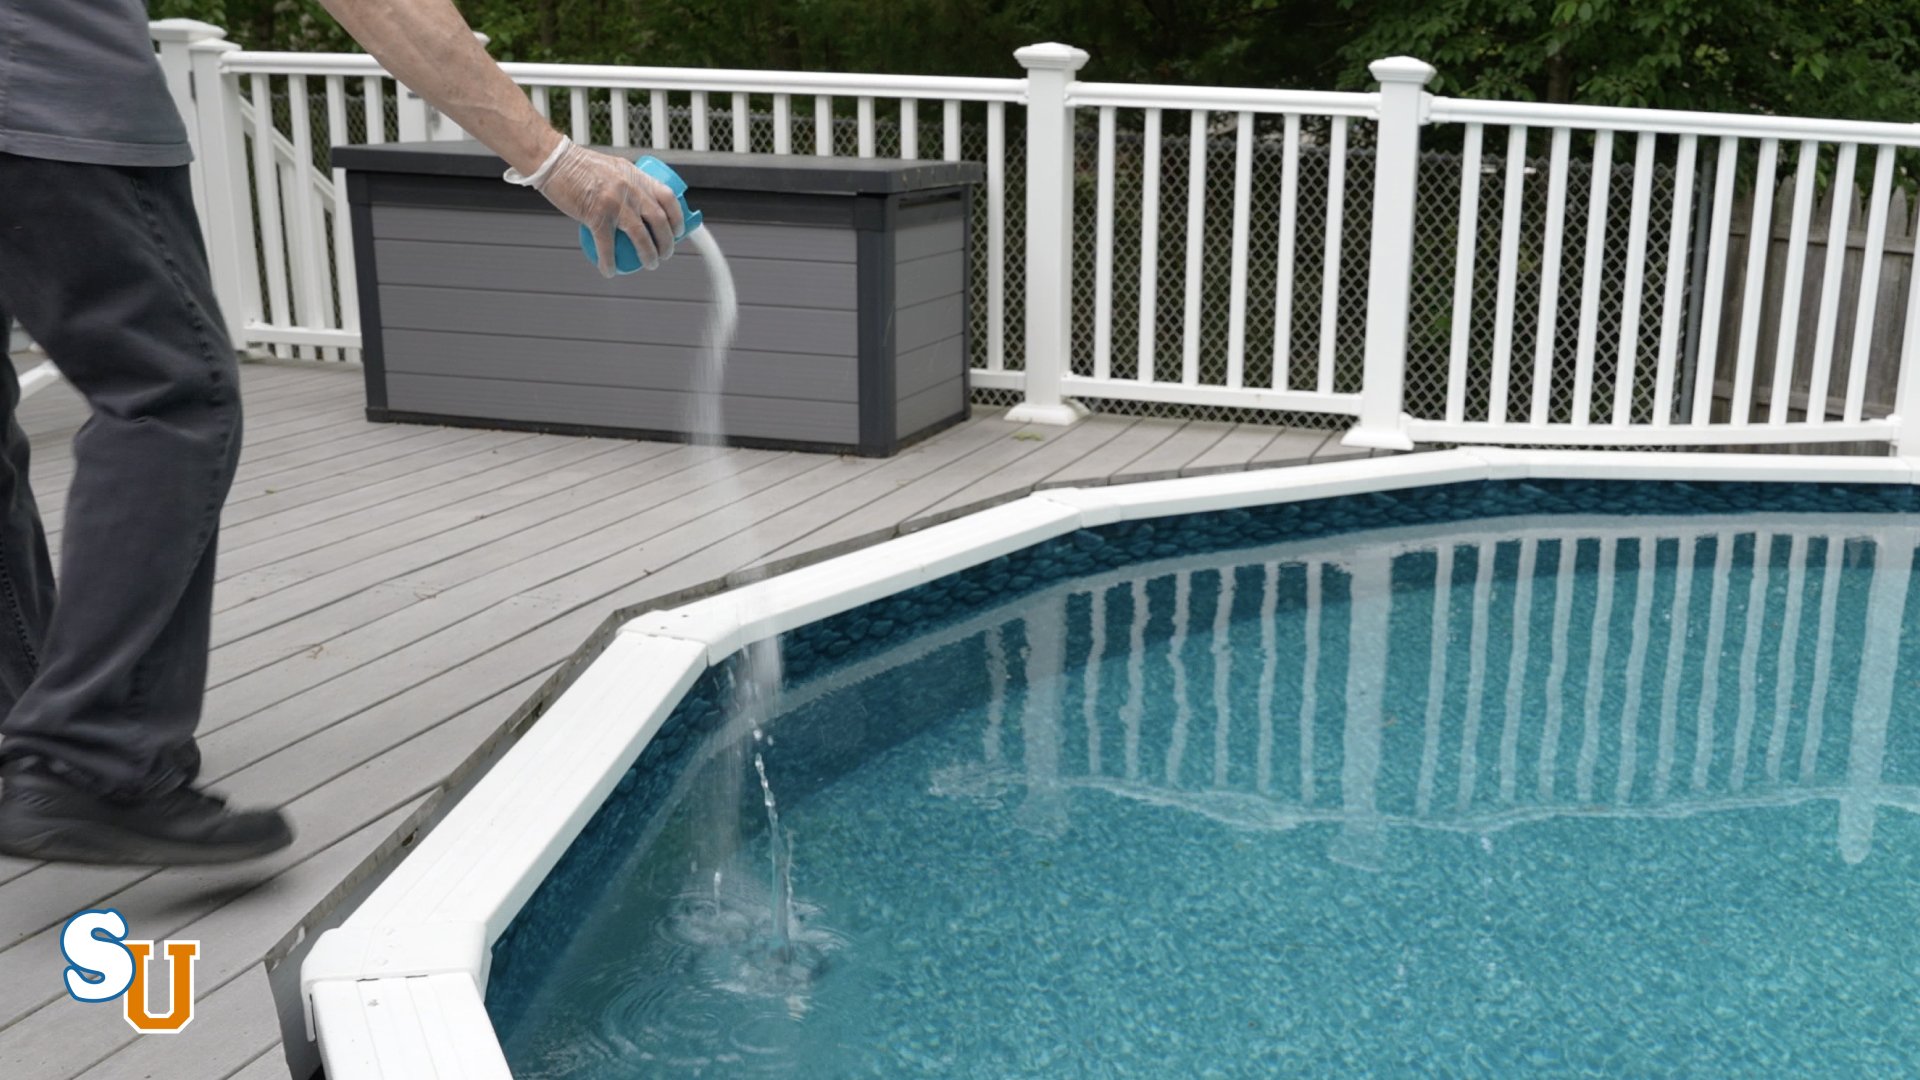
You know you should be adding chemicals to your pool. But exactly how much do you need to add? For example, it only takes about